Skip to main content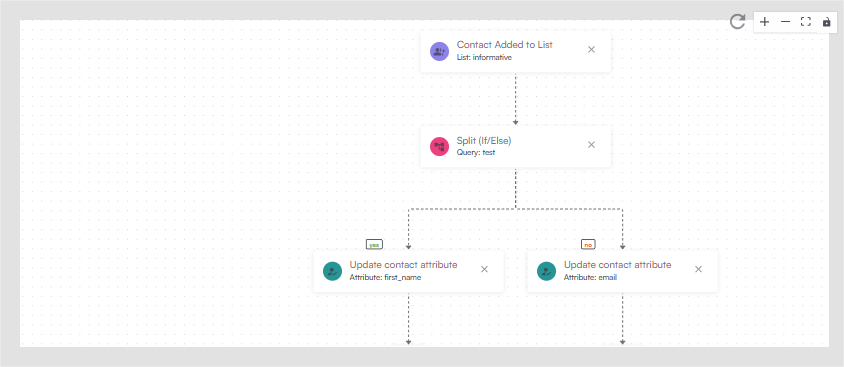
 A common use case for crafting a user journey is to send different emails based on whether a contact has completed an action or not.
For example, you may want to send a different email to users who are free users versus users who are paid users.
You can do this by creating a branching Workflow.
A common use case for crafting a user journey is to send different emails based on whether a contact has completed an action or not.
For example, you may want to send a different email to users who are free users versus users who are paid users.
You can do this by creating a branching Workflow.
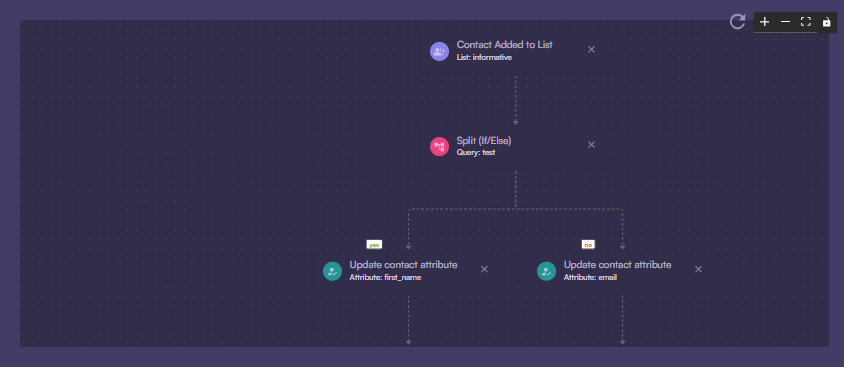
Creating a branching Workflow
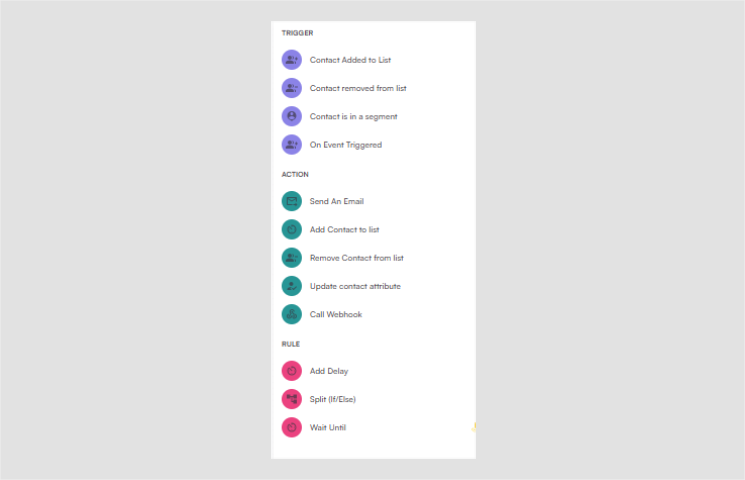
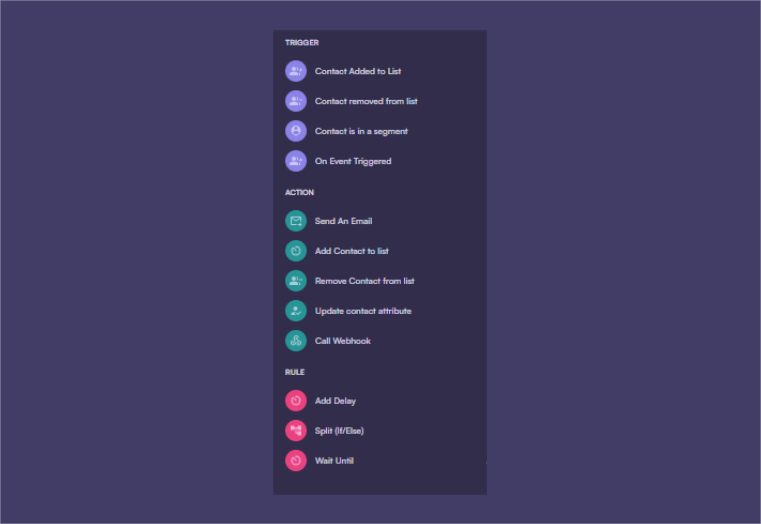 To create a branching Workflow, you just need to add a new node and select Branching as the node type. Two audience filter nodes are automatically created for you and you can edit the audience filter settings for each node to send to different contacts based on their properties.
Best practices for branching Cocoonmail
The audience filter nodes created after a branching node can be toggled between two settings:
- All following nodes: The audience filter will apply to all nodes downstream of the Workflow.
- Next node only: The audience filter will only appy to the next node in the Workflow.
A common use case for the “All following nodes” option is creating a global Audience Filter. You can add an Audience Filter node after a Trigger node which will ensure that contacts who do not match the audience filter will not remain in the Workflow. This is useful for sending a welcome email to new free contacts and then removing them from the Workflow when they become paid contacts.