Step 1: Navigate to your domain settings page
Go to Settings -> Domain and click View records (or click this link to go directly).
Step 2: Set up your records
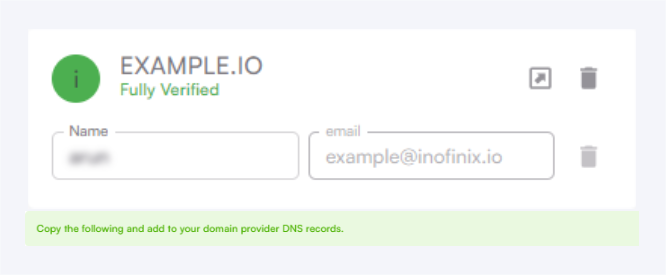
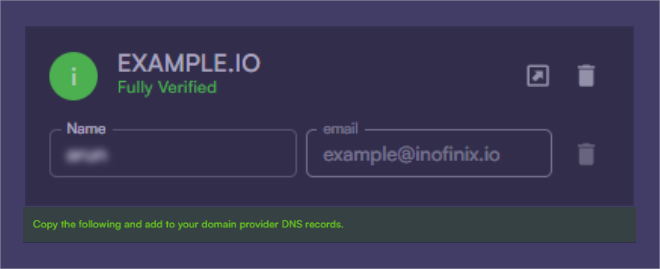
On this page, you’ll see a few things. Your records These are SPF, DKIM and MX records that need to be set up in your domain zone editor inside of your domain registrar like Namecheap, Google Domains, AWS, Godaddy or elsewhere. Next to each record is a clipboard icon. You can use this to copy the records to your clipboard and easily paste them into your domain registrar. Your sending domain This is indicated below by “yourcompany.com”. This will have your domain listed. If you’d like to change domains, just contact Adam (adam@cocoonmail.com) and we’ll set up new records for you. A verify records button Once you have copied your records to your registrar, click this button to verify they have been set up correctly.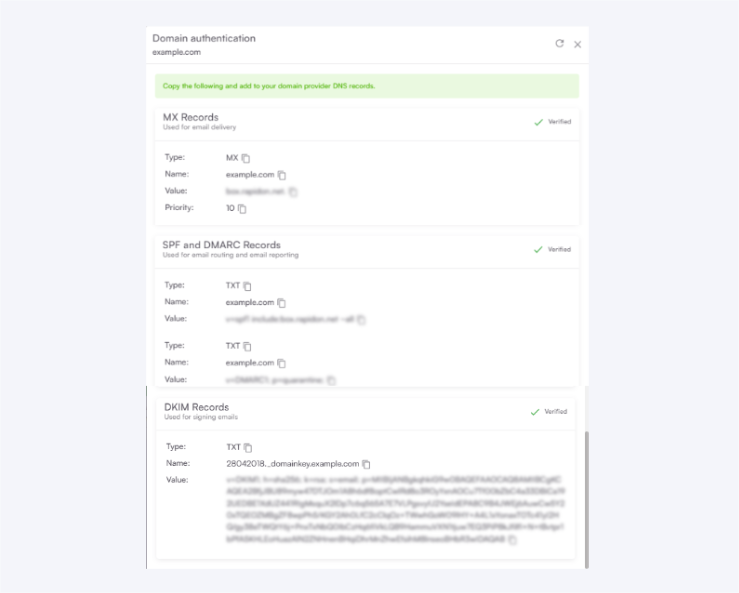

Step 3: Add your domain records
Copy and paste the records one by one into your registrar. You want to use the Type (indicated as TXT, CNAME and MX) in setting up your records, not the title of the record e.g. SPF, DKIM, MX.Cocoonmail’ records for SPF are at envelope.sendingdomain.com, meaning they won’t collide with any other SPF records you have set up.
We specify a DMARC record so that you have one, but you can also just have a single DMARC at the root domain level.
Cloudflare
Cloudflare
DNS records can be added from the “DNS” page within a website.Click Add record to open the form. Select a “Type” (TXT, MX or CNAME), then paste the “Name” and “Value” information.Read the guideBe sure to set the proxy to “DNS Only” for the CNAME records: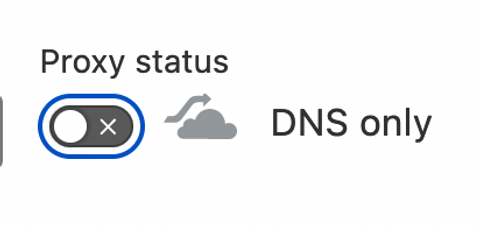
Dreamhost
Dreamhost
Dreamhost is currently unsupported in full because you cannot add custom MX records.
GoDaddy
GoDaddy
For GoDaddy, read this guide.
Google Domain
Google Domain
Google Domains (and potentially other providers) combine the mail server and priority inputs into a single line. So if you receive an error like this when setting up the domain, make sure to instead type out the input like this:  Google domains will also include quotes “ “ around some record names. This is expected and will not impact anything.
10 feedback-smtp.us-east-1.amazonses.comGoogle domains will also include quotes “ “ around some record names. This is expected and will not impact anything.Namecheap
Namecheap
Go to the Advanced DNS page for your domain.If you are using the automatic Gmail/Gsuite integration with Namecheap, you will need to disable the automatic integration and switch to Custom MX in the Mail Settings dropdown.If your Gsuite records are already verified, you may need to determine the appropriate MX records from this article.Add the MX record by clicking Add new record in the “Mail Settings” section and pasting in the values provided in Cocoonmail. Click the 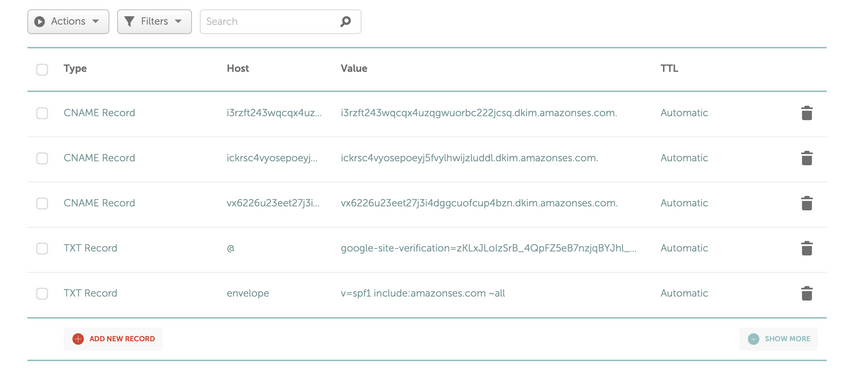
✓ icon to save each record.Add the TXT and CNAME records by clicking Add new record in the “Host Records” section.Route 53
Route 53
For Route 53, read this guide.
Wix
Wix
Unfortunately, Wix DNS does not support subdomains for MX records when your nameservers are pointed at Wix.If you purchased a domain outside of Wix, you should use the “Pointing” method for your domain, which will let you set up DNS records externally a domain registrar. Then you can add records using this guide.
Make sure you enter the “Priority” while setting up your MX record. In most registrars this is done by formatting it like “10 ”. Occasionally you will be asked to place it on a separate line. Just make sure to read the instructions on the page as you set up your MX record and if you have any questions, just ping adam@cocoonmail.com
Step 4: Verify your records are set up correctly
After you have copied and pasted your records into your domain registrar, click Verify Records at the bottom of the page to check your configuration is correct.Sometimes records can take up to an hour to propagate across all the servers. During that time you may see different records validate. This is totally normal, just check back later.
Confused or have questions? Just shoot us an email 🙂